
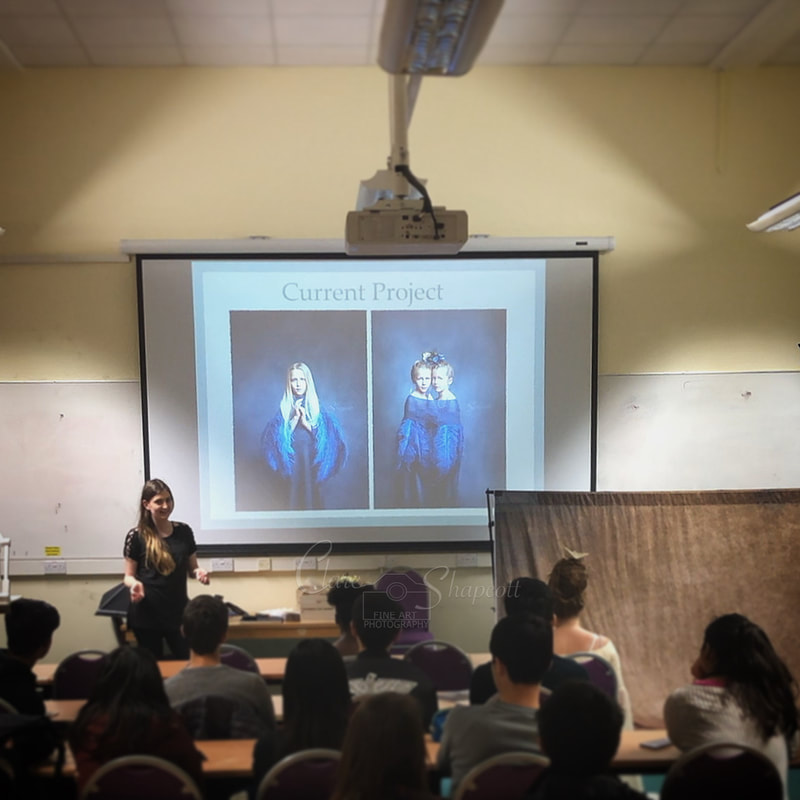
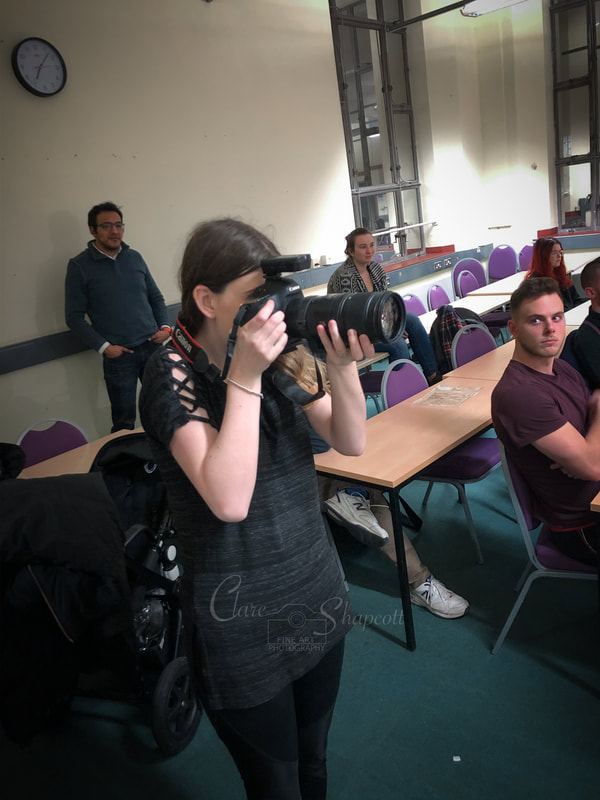
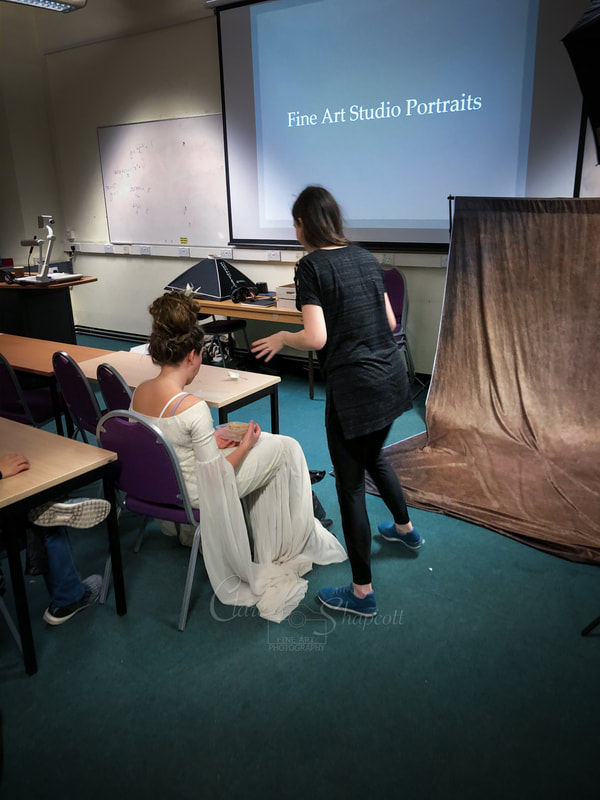
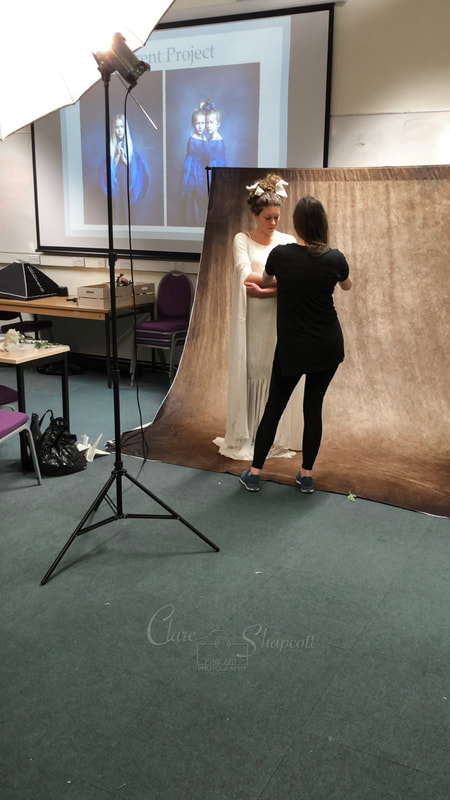
Fine Art Studio PortraitsAs some of you may know, I was recently asked to speak at University of Bristol's Photography Society. I put together an hour talk about some of my recent Fine Art Studio Portraits Photoshoots and how I go about creating those images and that painterly look. 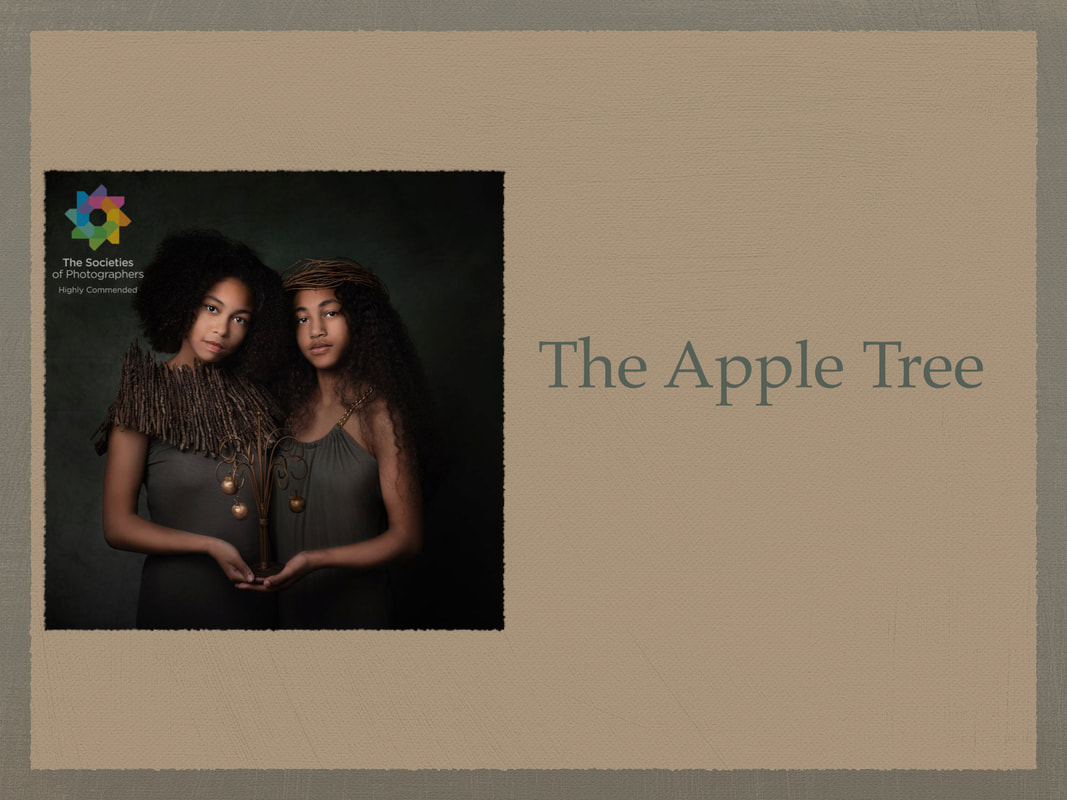 I started off with a brief explanation on how I put together creative concepts, lighting, posing, composition and planning. Next, I did an in depth explanation of some specific images. I then went on to do a demonstration to show how it looks in action.
I am currently working on a project about self expression. This part of the project was about storytelling. As a portrait photographer, I spend a lot of time expressing my own ideas in the form of photographs, so it is interesting to me to explore the other ways people choose to express themselves. I spend a lot of time planning a shoot, from themes and concepts to posing and lighting. I usually then adjust and end up doing some completely different images on the day. It is important to plan, but also just as important to experiment and be able to adapt to the model and props on the day.
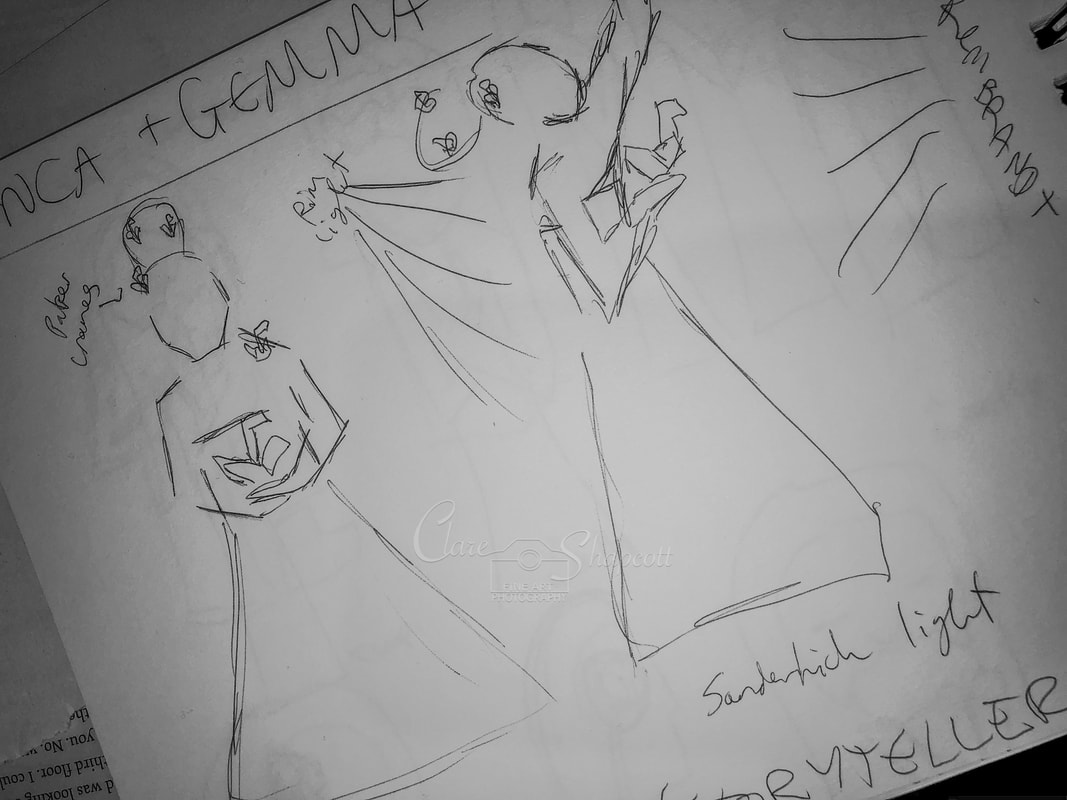
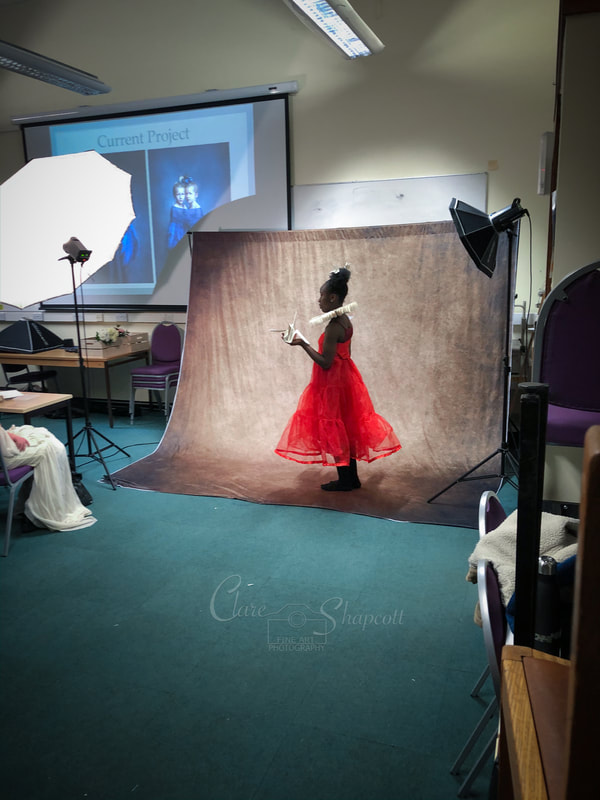
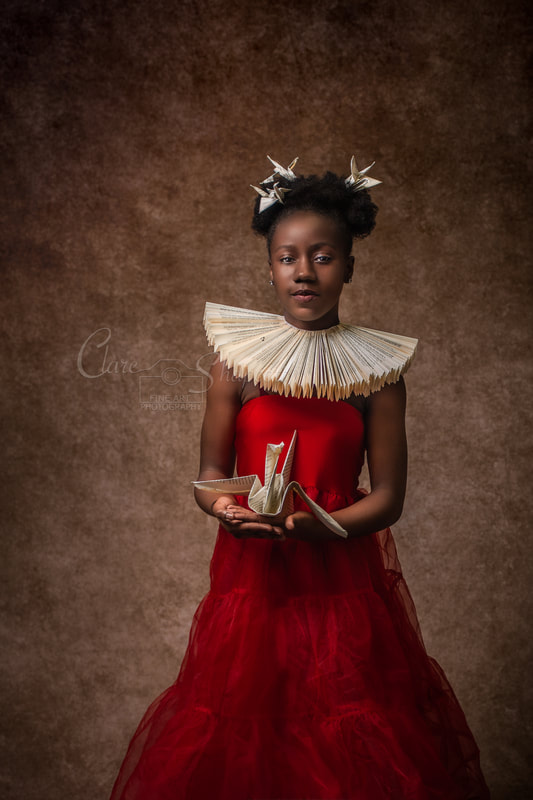
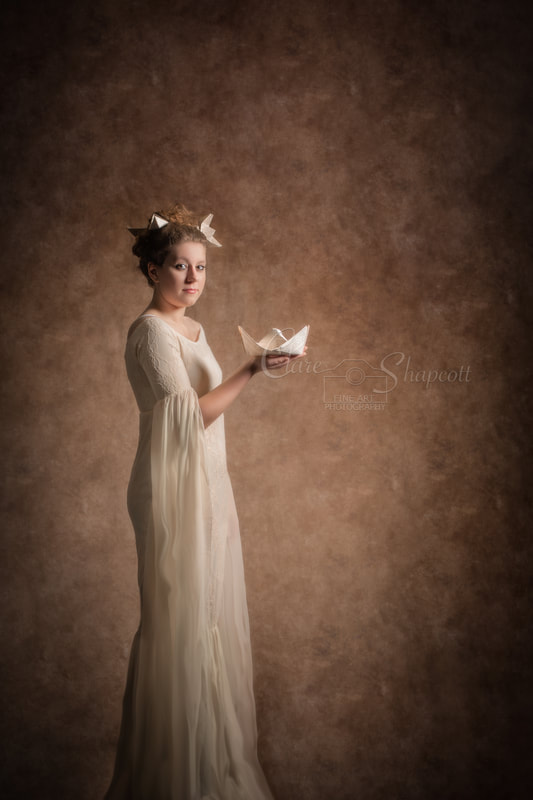
With these images, I planned to use a rim light further behind the model, but slightly due to space and also the way I wanted to balance the image, I decided to add in an accent light camera right instead.
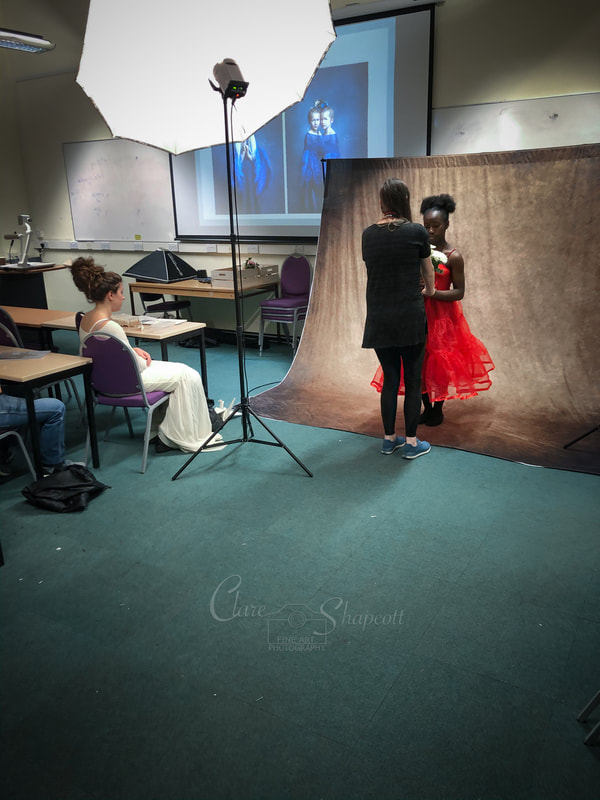
I used Rembrandt lighting here and my umbrella was much higher than I would usually have it, so that everyone could still see what I was doing! I then adjusted the catchlight and lighting on the bottom half of her face in post production.
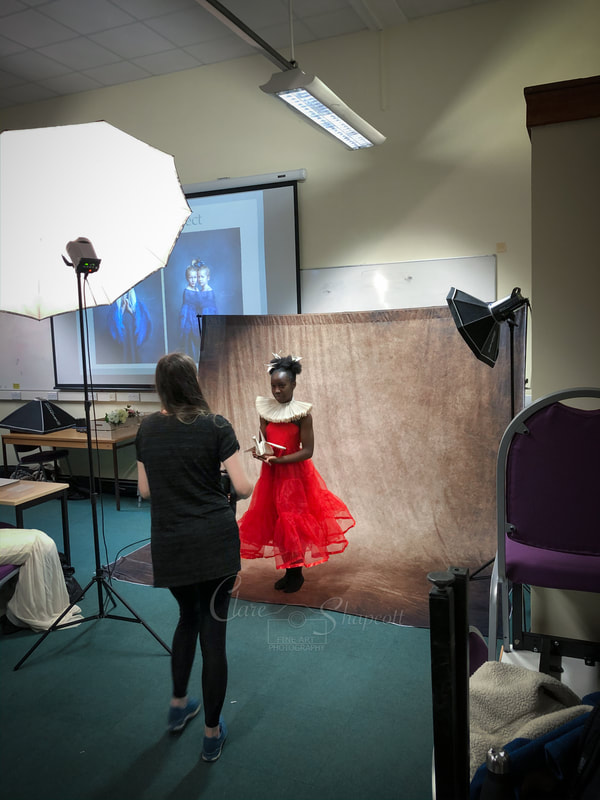
I always do more than one setup on the day as a backup for me and, for client shoots, variation for their gallery!
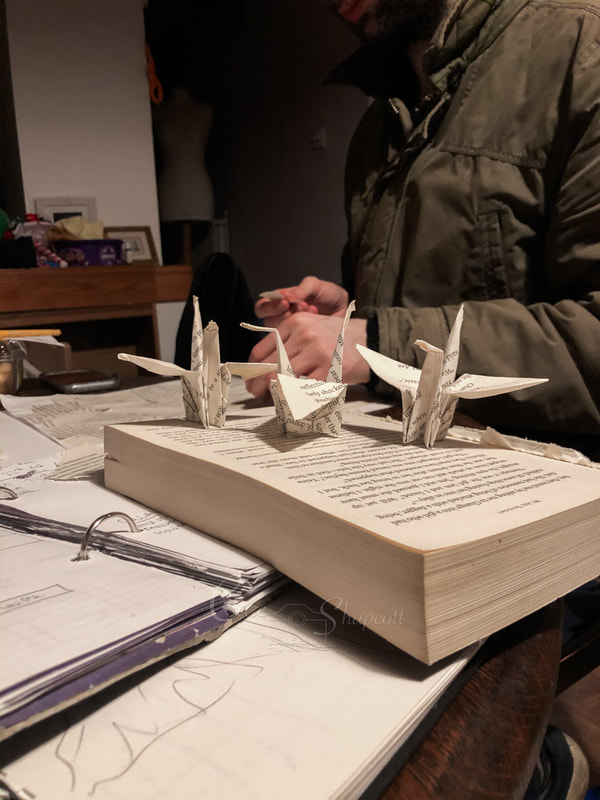
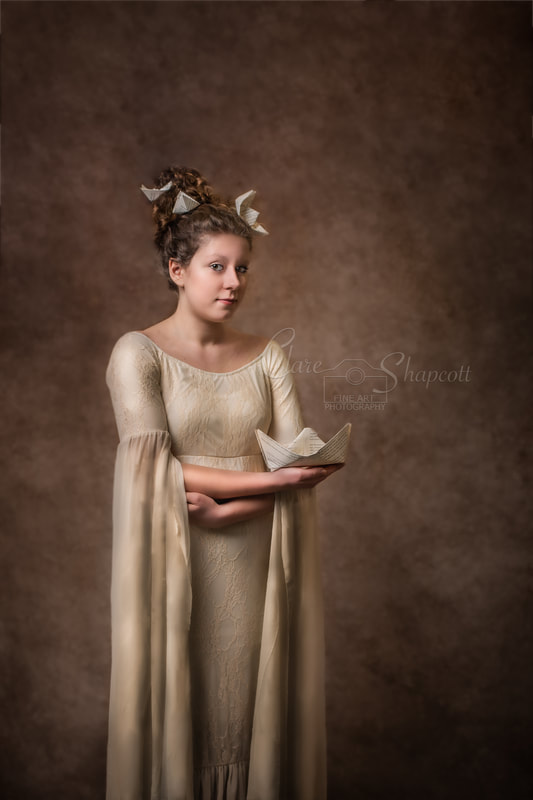
I started off with broad lighting and a large umbrella for this part of the photoshoot demonstration. I knew I wanted the model's hair to have a lot of volume for the paper boats to be visible. I actually wrapped her hair around a cushion - which I usually use for my newborn photoshoots and I am just as surprised as anyone else that this worked! It did start to fall out later on and if I had been doing a shoot in studio, I would be working more constantly with the hair (she had to sit through the talk fairly still before the shoot also).
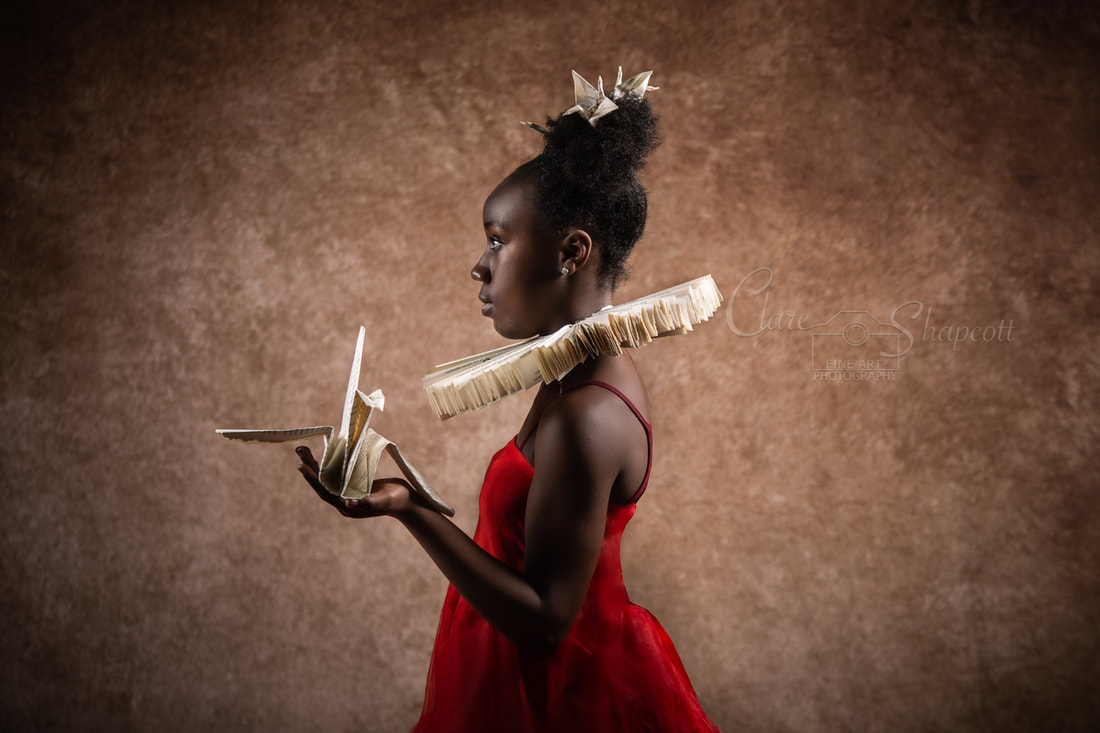
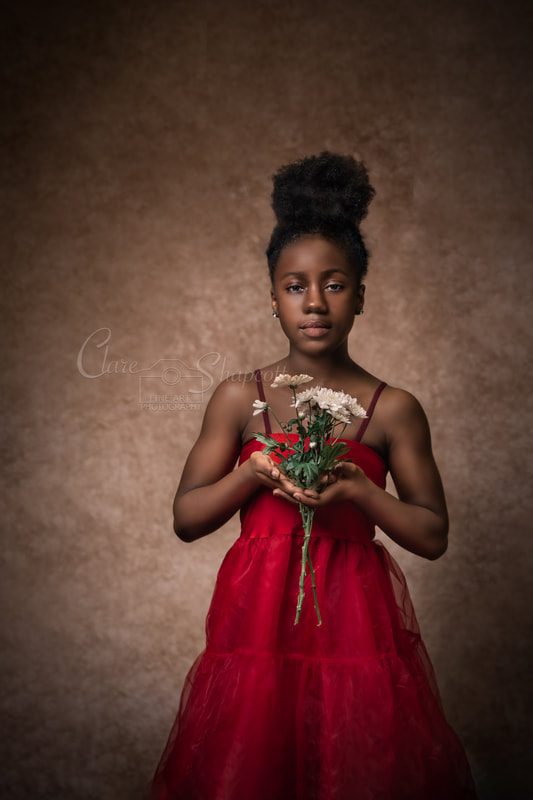
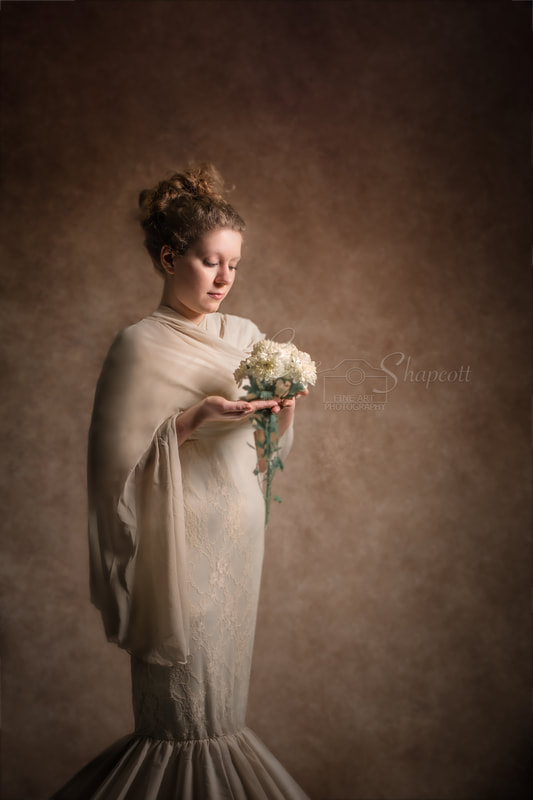
I changed the lighting to narrow lighting and a much smaller soft-box for the next part of the photoshoot. The most time consuming part of the editing here was actually removing the straps from her shoulders and taking out the creases in her dress. I added some more images with the flowers for the variation and backup. I also explained that if you don't fancy editing out the straps etc, then you can find a way to be creative about it - I wrapped her long sleeves around her.
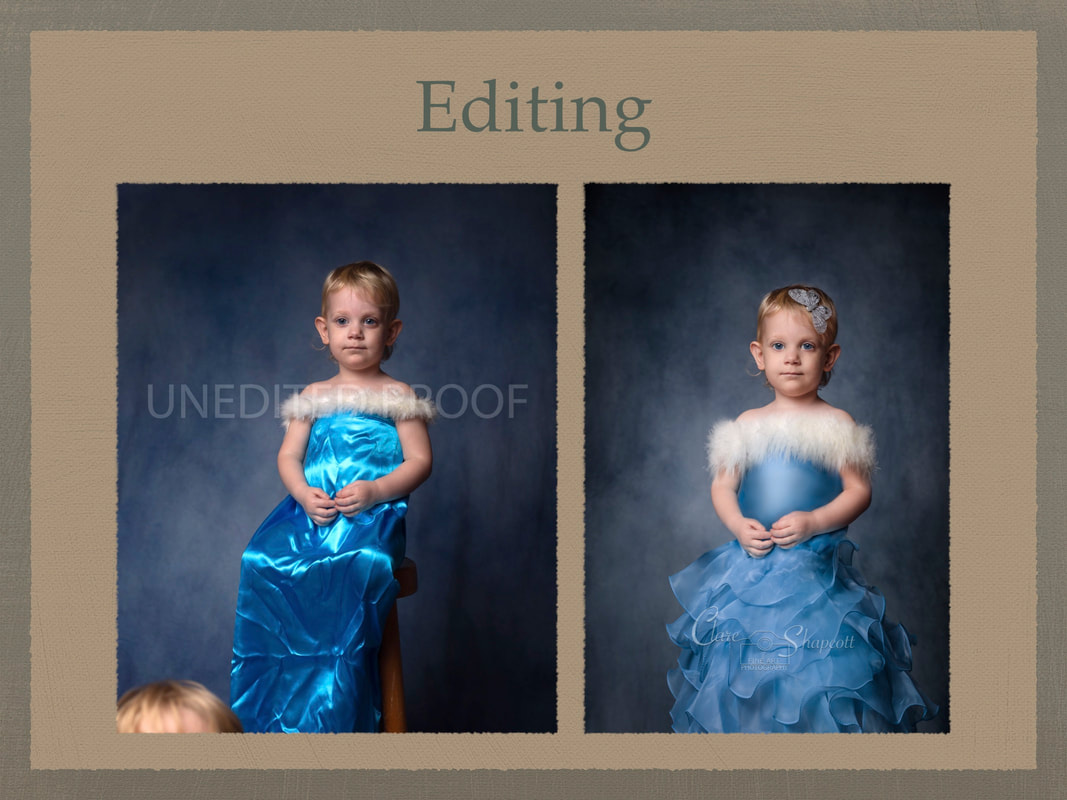
We didn't get around to the editing part of my slideshow but I wanted to explain the basic editing process and how the client enjoying the shoot and not feeling forced into poses is the most important thing on the day. It is still possible to work with images that are not perfect in camera. You can see another post about my editing process here: the-ice-princess-my-editing-process.html. I will follow up this blog post with a blog post on an in depth editing process for one of the images I took at the talk - which image would you all like to see me do this for?
|
Clare ShapcottPhotographer Archives
December 2021
Categories
All
|

 RSS Feed